Geo Redirect

Our dedicated WordPress plugins make it quick and straightforward to activate powerful geo personalization features like redirects, content, popups, and more, with no technical setup required.


Download dedicated Geo Targetly Wordpress plugins for each feature
Set up your WordPress plugin in two quick steps
1. In your WordPress admin panel, go to Plugins → Add New
2. Search for the Geo Targetly plugin you need (for example, Geo Content or Geo Redirect)
3. Click Install Now, then click Activate
1. Download the plugin Go to the WordPress plugin directory and download the plugin for your desired Geo Targetly feature.
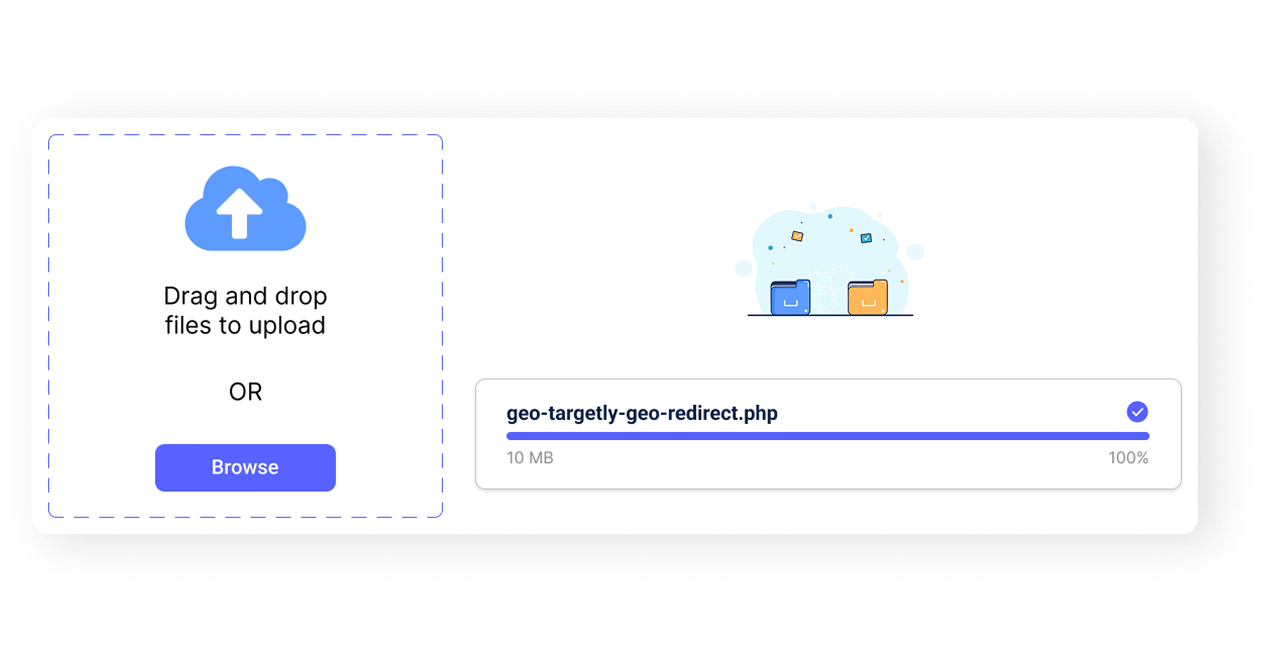
2. Upload the plugin Upload the .php file (for example, geo-targetly-geo-redirect.php) to your WordPress site’s /wp-content/plugins/ directory.
3. Activate the plugin Go to the Plugins section in your WordPress dashboard and click Activate.

1. Create a free trial account at GeoTargetly.com.
2. Log in to your Geo Targetly dashboard.
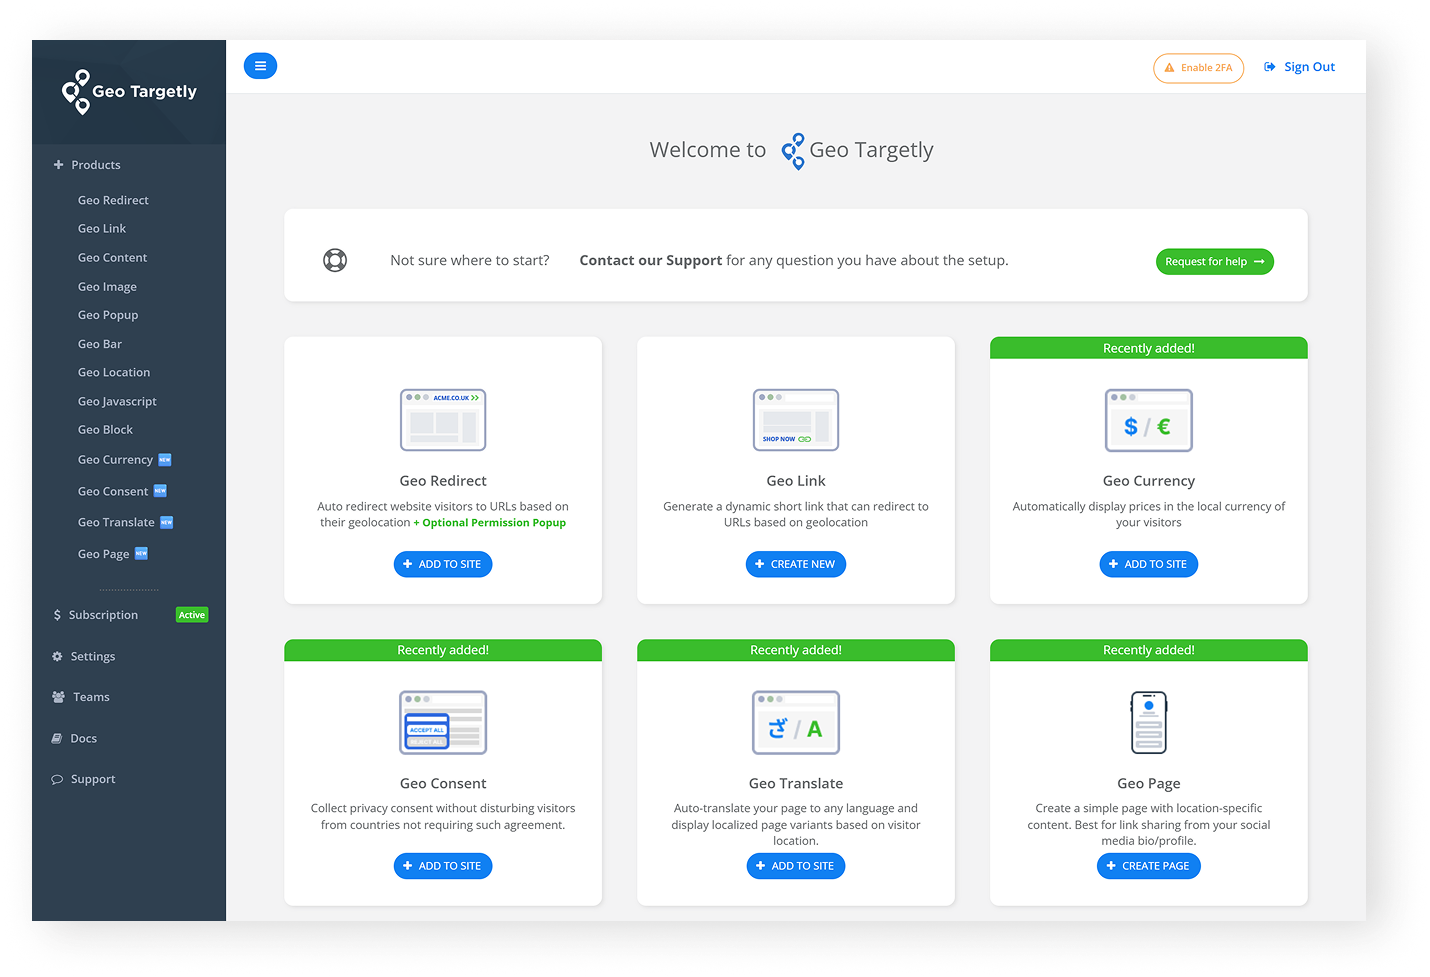
3. Click on “Products” and choose the geo feature you want to use.
4. Set up and configure your feature using the dashboard interface.
5. Copy the Geo Targetly setup ID displayed in the final step of the service configuration, then paste it into the plugin settings page in WordPress.
Once done, your selected feature will be active on your site without needing to touch any code. Any changes you make in the Geo Targetly dashboard will be automatically applied to your site, and you will not need to reinsert the tracking code into the plugin.
Geo Targetly’s customer support team is here to help you succeed:
• Live chat and email support are available for all users
• Extensive documentation for each feature and plugin
• 14-day free trial to test everything before committing
Each WordPress plugin connects to a single Geo Targetly platform, where you can unlock powerful features across all visitor touchpoints:

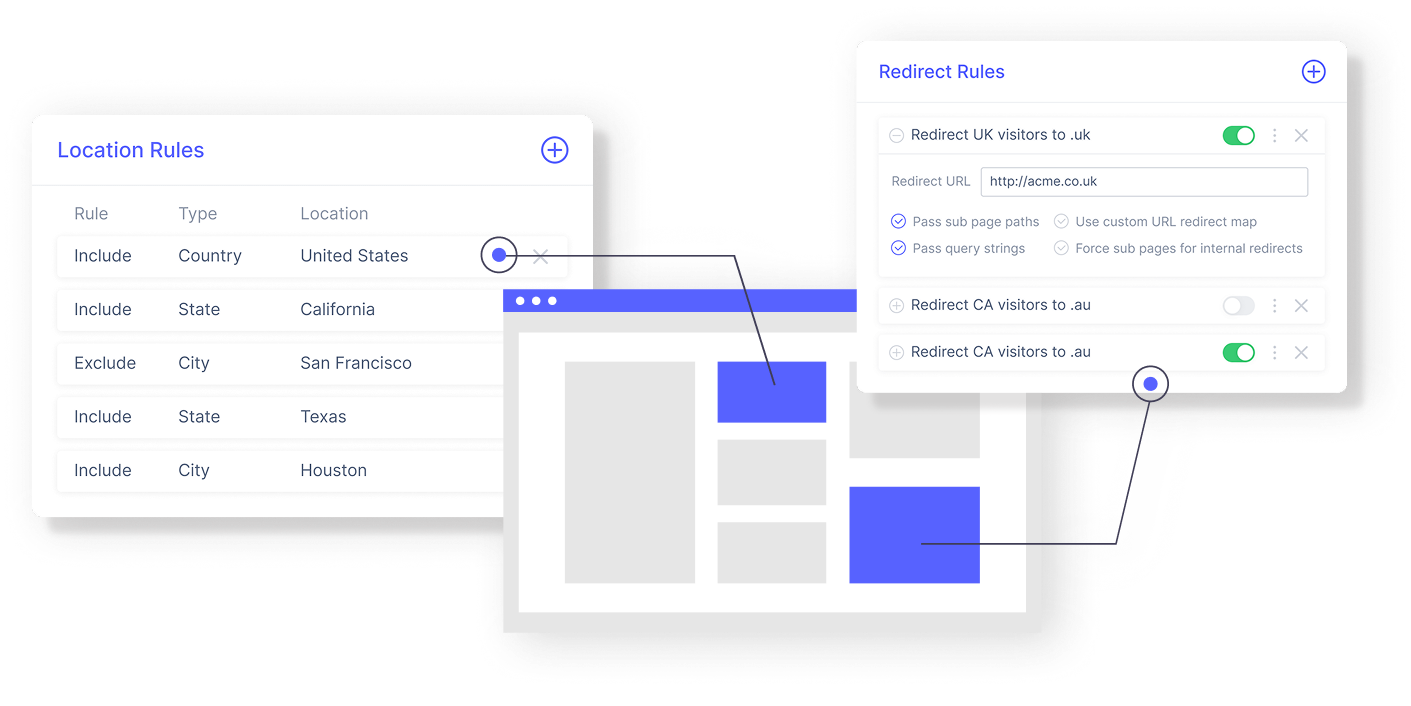
Automatically send visitors to the right page based on their country, state, or city.

Get visitor country, state, city, latitude and longitude using our IP geolocation API. Customize your website with location-based personalization.

Increase trust & engagement by dynamically displaying geo targeted content in your website. Easy to setup & integrate.

Automatically block visitors to your website by country, state & city using IP geolocation technology. Use geo blocking to reduce spam and unwanted visitors to your website. Easy to set up with no coding required.
Deliver a localized browsing experience with minimal effort using Geo Translate’s automatic website translation services.

Geo Currency automatically converts prices based on location, personalizing customer’s experience and driving global sales for
e-commerce and SaaS businesses.

Show location-relevant offers and engage with local customers through popups that allow geo marketing. Display popups based on visitor country, state & city. Easy to setup and fully customizable.

Attract attention and drive conversions from geo-specific audiences using attractive geo notification bars. Easy to setup with no coding required.

Run JavaScript code on your website based on a visitor's country, state or city. Execute third-party tools such as popups, forms and tracking scripts based on visitor geolocation.

Yes. Each plugin works independently, so you can run multiple features like Geo Redirect and Geo Content together.
Yes, the plugins are free. You’ll only need a Geo Targetly account to configure and activate your features.
Yes, the WordPress plugin connects your site to the Geo Targetly platform. All pricing remains the same.
No. Any changes you make in your Geo Targetly dashboard are automatically applied to your site. The tracking code does not need to be reinserted into the plugin.
Not at all. Each plugin uses a lightweight script optimized for performance, so your pages stay fast.
Our support team is available via chat and email. You can also book a setup call or explore our detailed help docs.


No, you don’t need to copy or paste any tracking scripts. The plugin handles code injection automatically. You’ll just need to copy the Geo Targetly setup ID from your Geo Targetly dashboard and paste them into the plugin’s settings page in WordPress.