How does Geo Targetly's Geo Content service work?
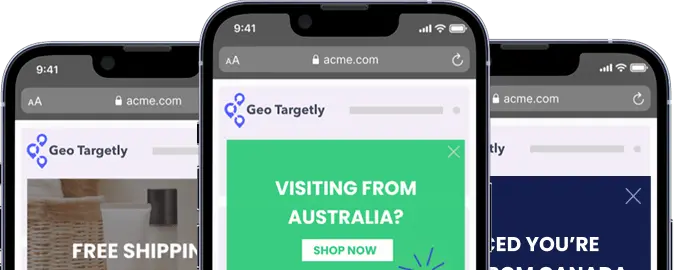
Geo Targetly is a geo personalization tool for websites. It is used to make a website 'dynamic' to suit a visitor's geolocation (country, state or city). The process of tailoring a website to suit geolocation is known as geo targeting or geo personalization.
Geo Targetly's Geo Content service is one of the products offered by Geo Targetly. It's key purpose is to modify, show or hide content in a website based on a visitor's geolocation.
Hence the Geo Content service offered by us is a perfect tool that can be used in a Shopify online store for displaying only products relevant to a visitor's country, state or city.
This quick three step guide will give you an idea of how easy it is to geo target products in Shopify:
Step 1: Create a Geo Content service
- Sign up for a Geo Targetly's 14 day free trial and create a new Geo Content service
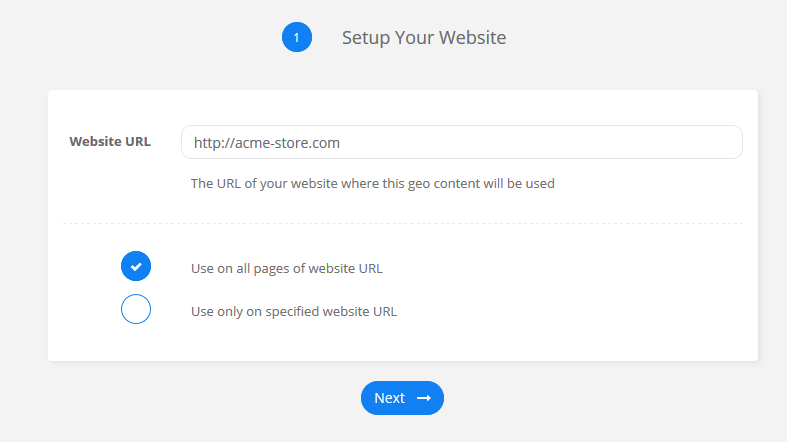
- Add your Shopify store URL or the page URL where the geo targeted products will be show
- Under 'Settings', chose to 'Enter content directly in your website using smart HTML wrappers'
- Create your desired content rules by adding location targets.
- Save the setup to obtain the smart HTML location based classes and the Geo Content code snippet
Step 2: Create product collections for each location
- Go to 'Products' > 'Collections' in Shopify admin
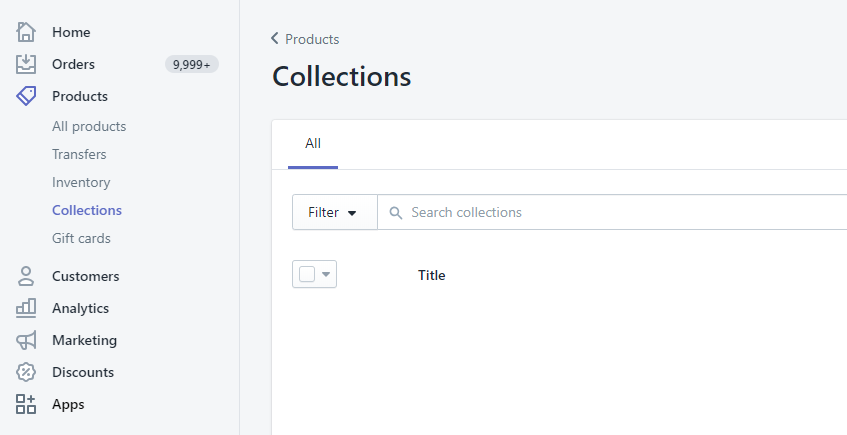
- Create a collection for each of the Geo Content rules i.e. one collection for each target country in this case
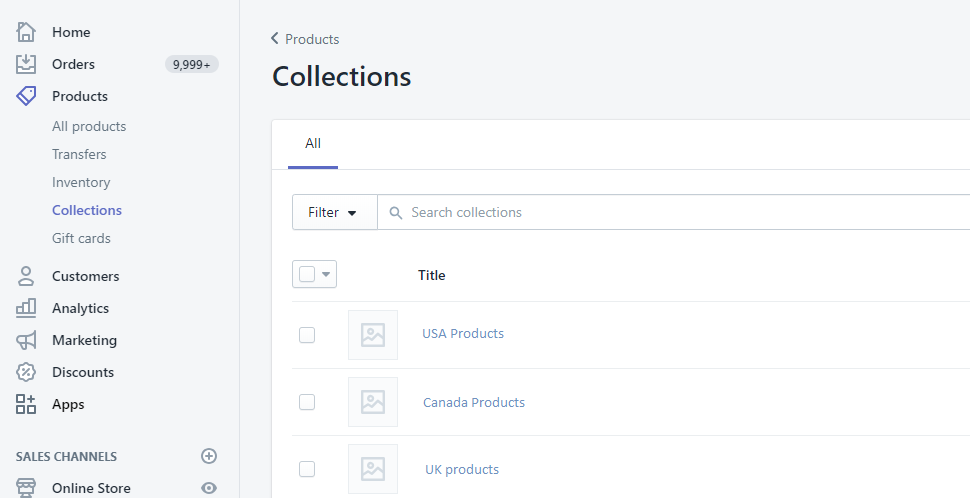
Step 3: Edit your Shopify theme to display desired collections based on geolocation
- Go to your Shopify theme by clicking on 'Online Store' under 'Sales Channels'
- Click 'Actions' > 'Edit code' to edit the code for each individual Shopify page
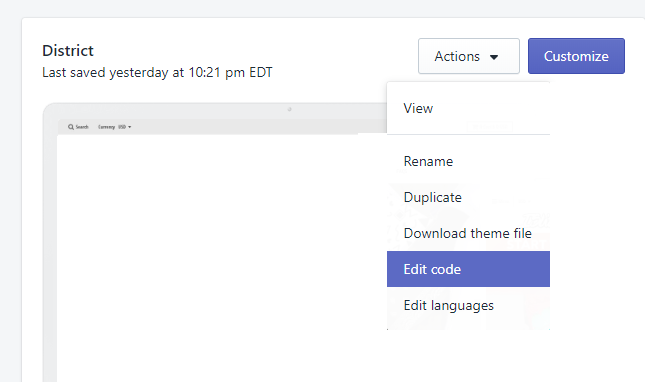
- Find the .liquid file that controls the page that needs to display of products in the page that needs to show geo targeted products. This file can either be a theme file or section file.
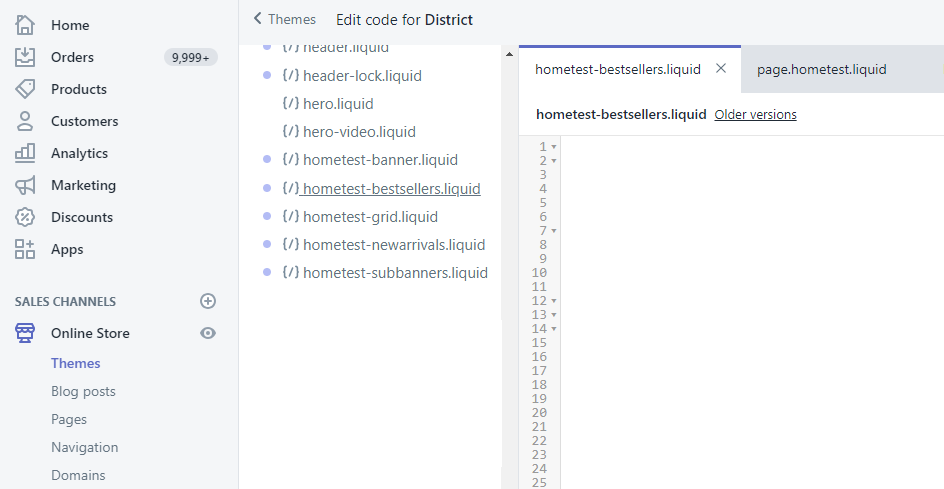
- Edit the file and find the code that displays the products in a grid. It should look like the highlighted code below. This code basically loops through your products and displays it in the grid.
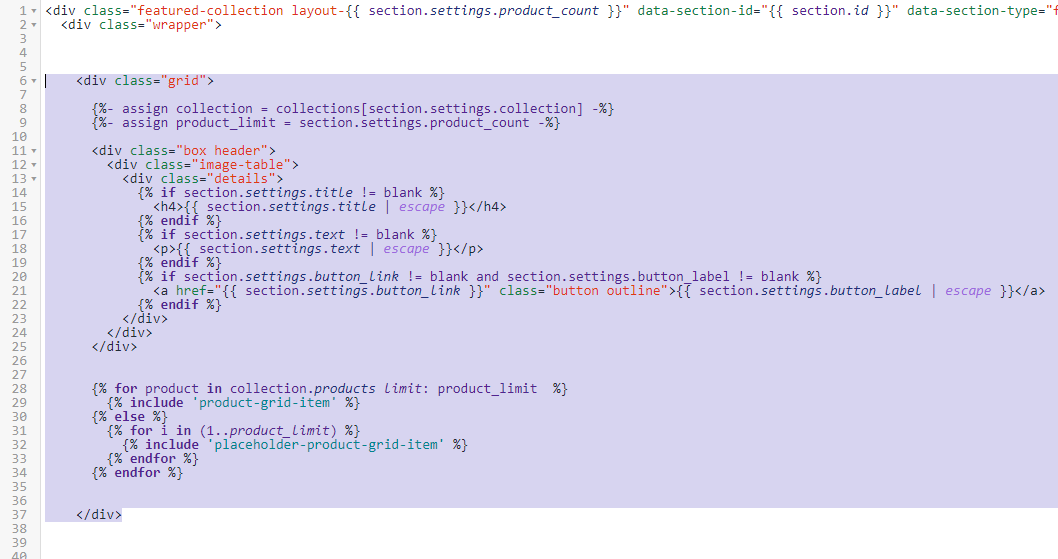
- Add the required Geo Content class to the grid element. Since the first Geo Content rule is for US visitors, this class needs to be added to the grid that will be displaying products from the USA Products collection.
- Modify the for loop that displays the products so it only displays products from a particular collection. For example if your collection name is USA Products then for product in collections.usa-products.products
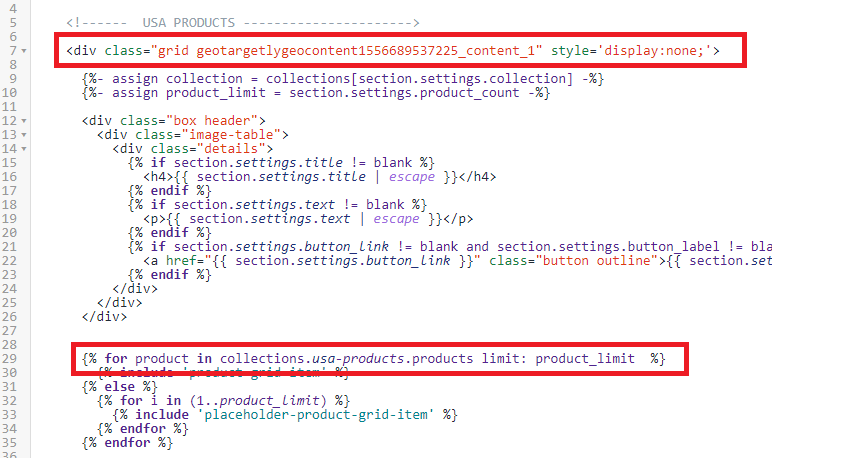
- Duplicate this grid for each Geo Content rule and add the necessary Geo Content classes as well as modify the for loop to show products from the respective collection.
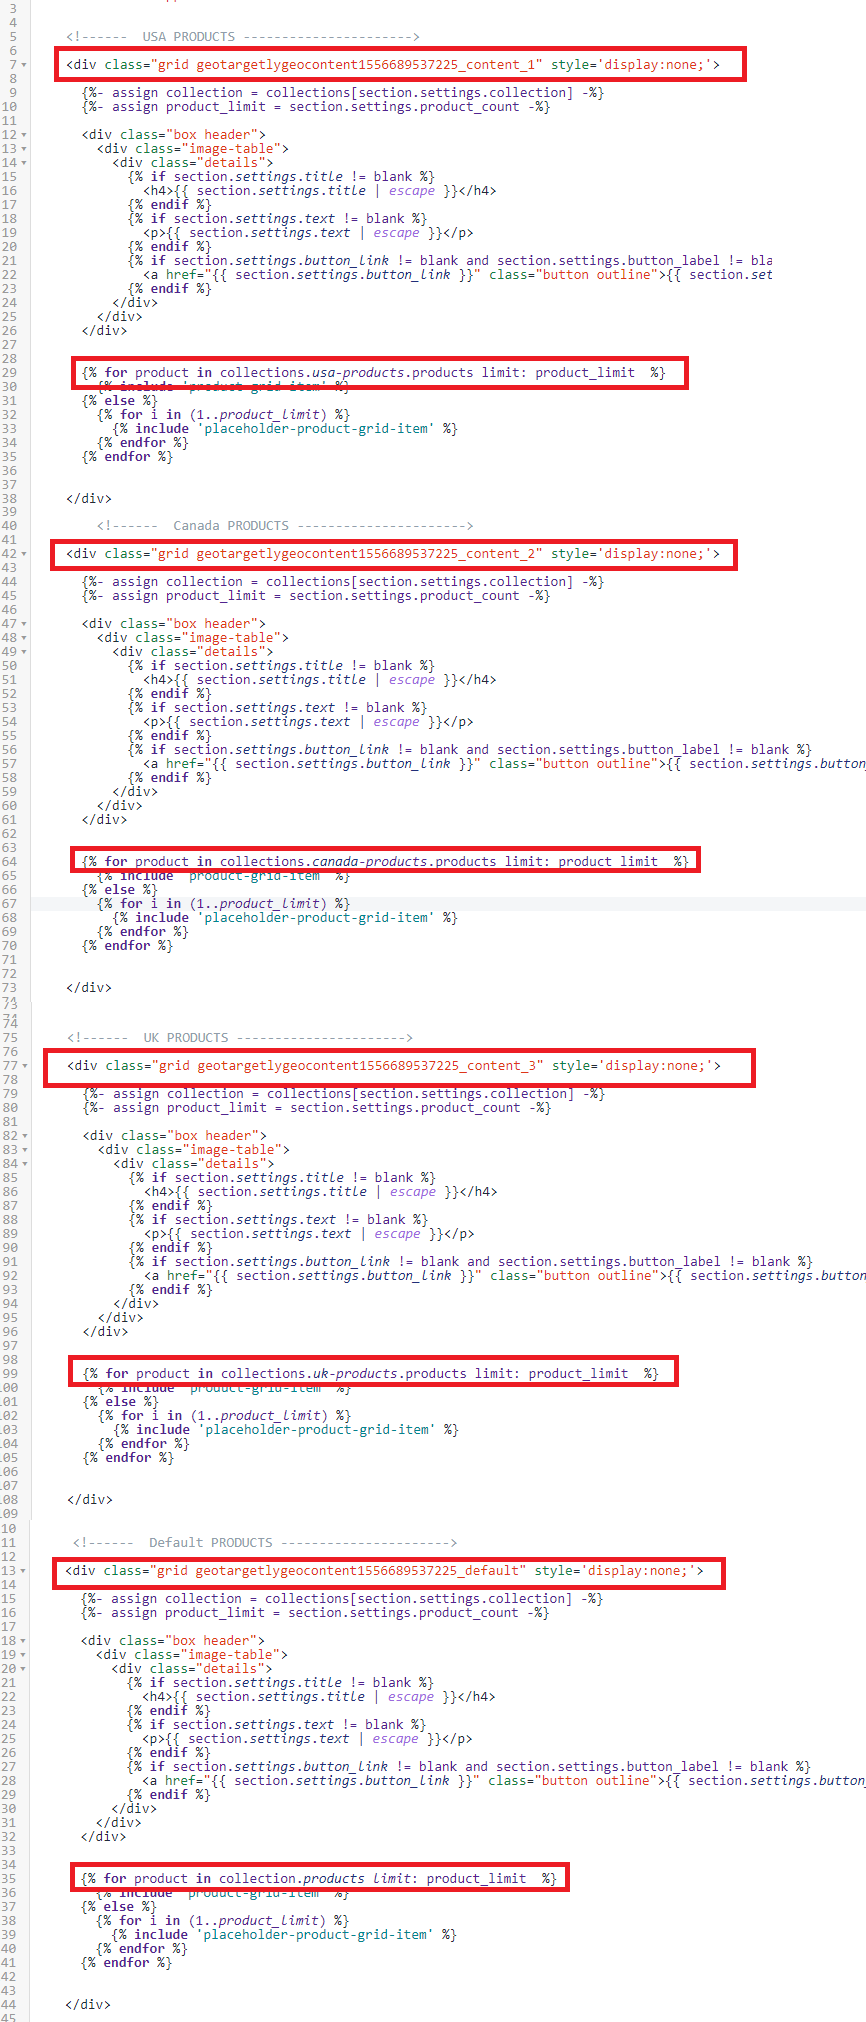
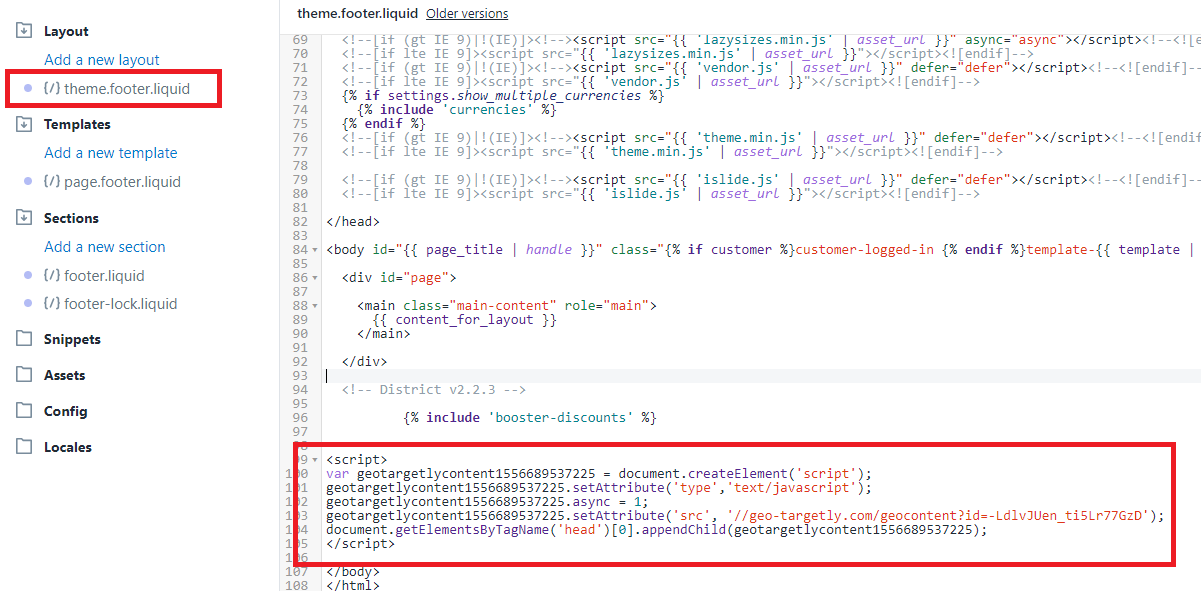
- Paste the Geo Content JavaScript code snippet just before the closing tag in the theme.footer.liquid file.
All done! A simple way to display products in your Shopify store pages based on visitor geolocation
Targeting products to visitors from specific locations can greatly increase conversion rate and sales as only relevant products are shown to visitors. This method of Geo Targeting is commonly used in e-commerce stores to provide a personalized 'feel' for customers and is a great way to improve engagement.
Feel free to signup for our free trial and give our Geo Content service a go!